Data Mapping, Custom Domains & Deployments in AWS API Gateway (Part - 5)
You’ve built your API, secured it with authentication, and set up throttling rules so nobody can crash your servers. You are finally ready to show it to the world.
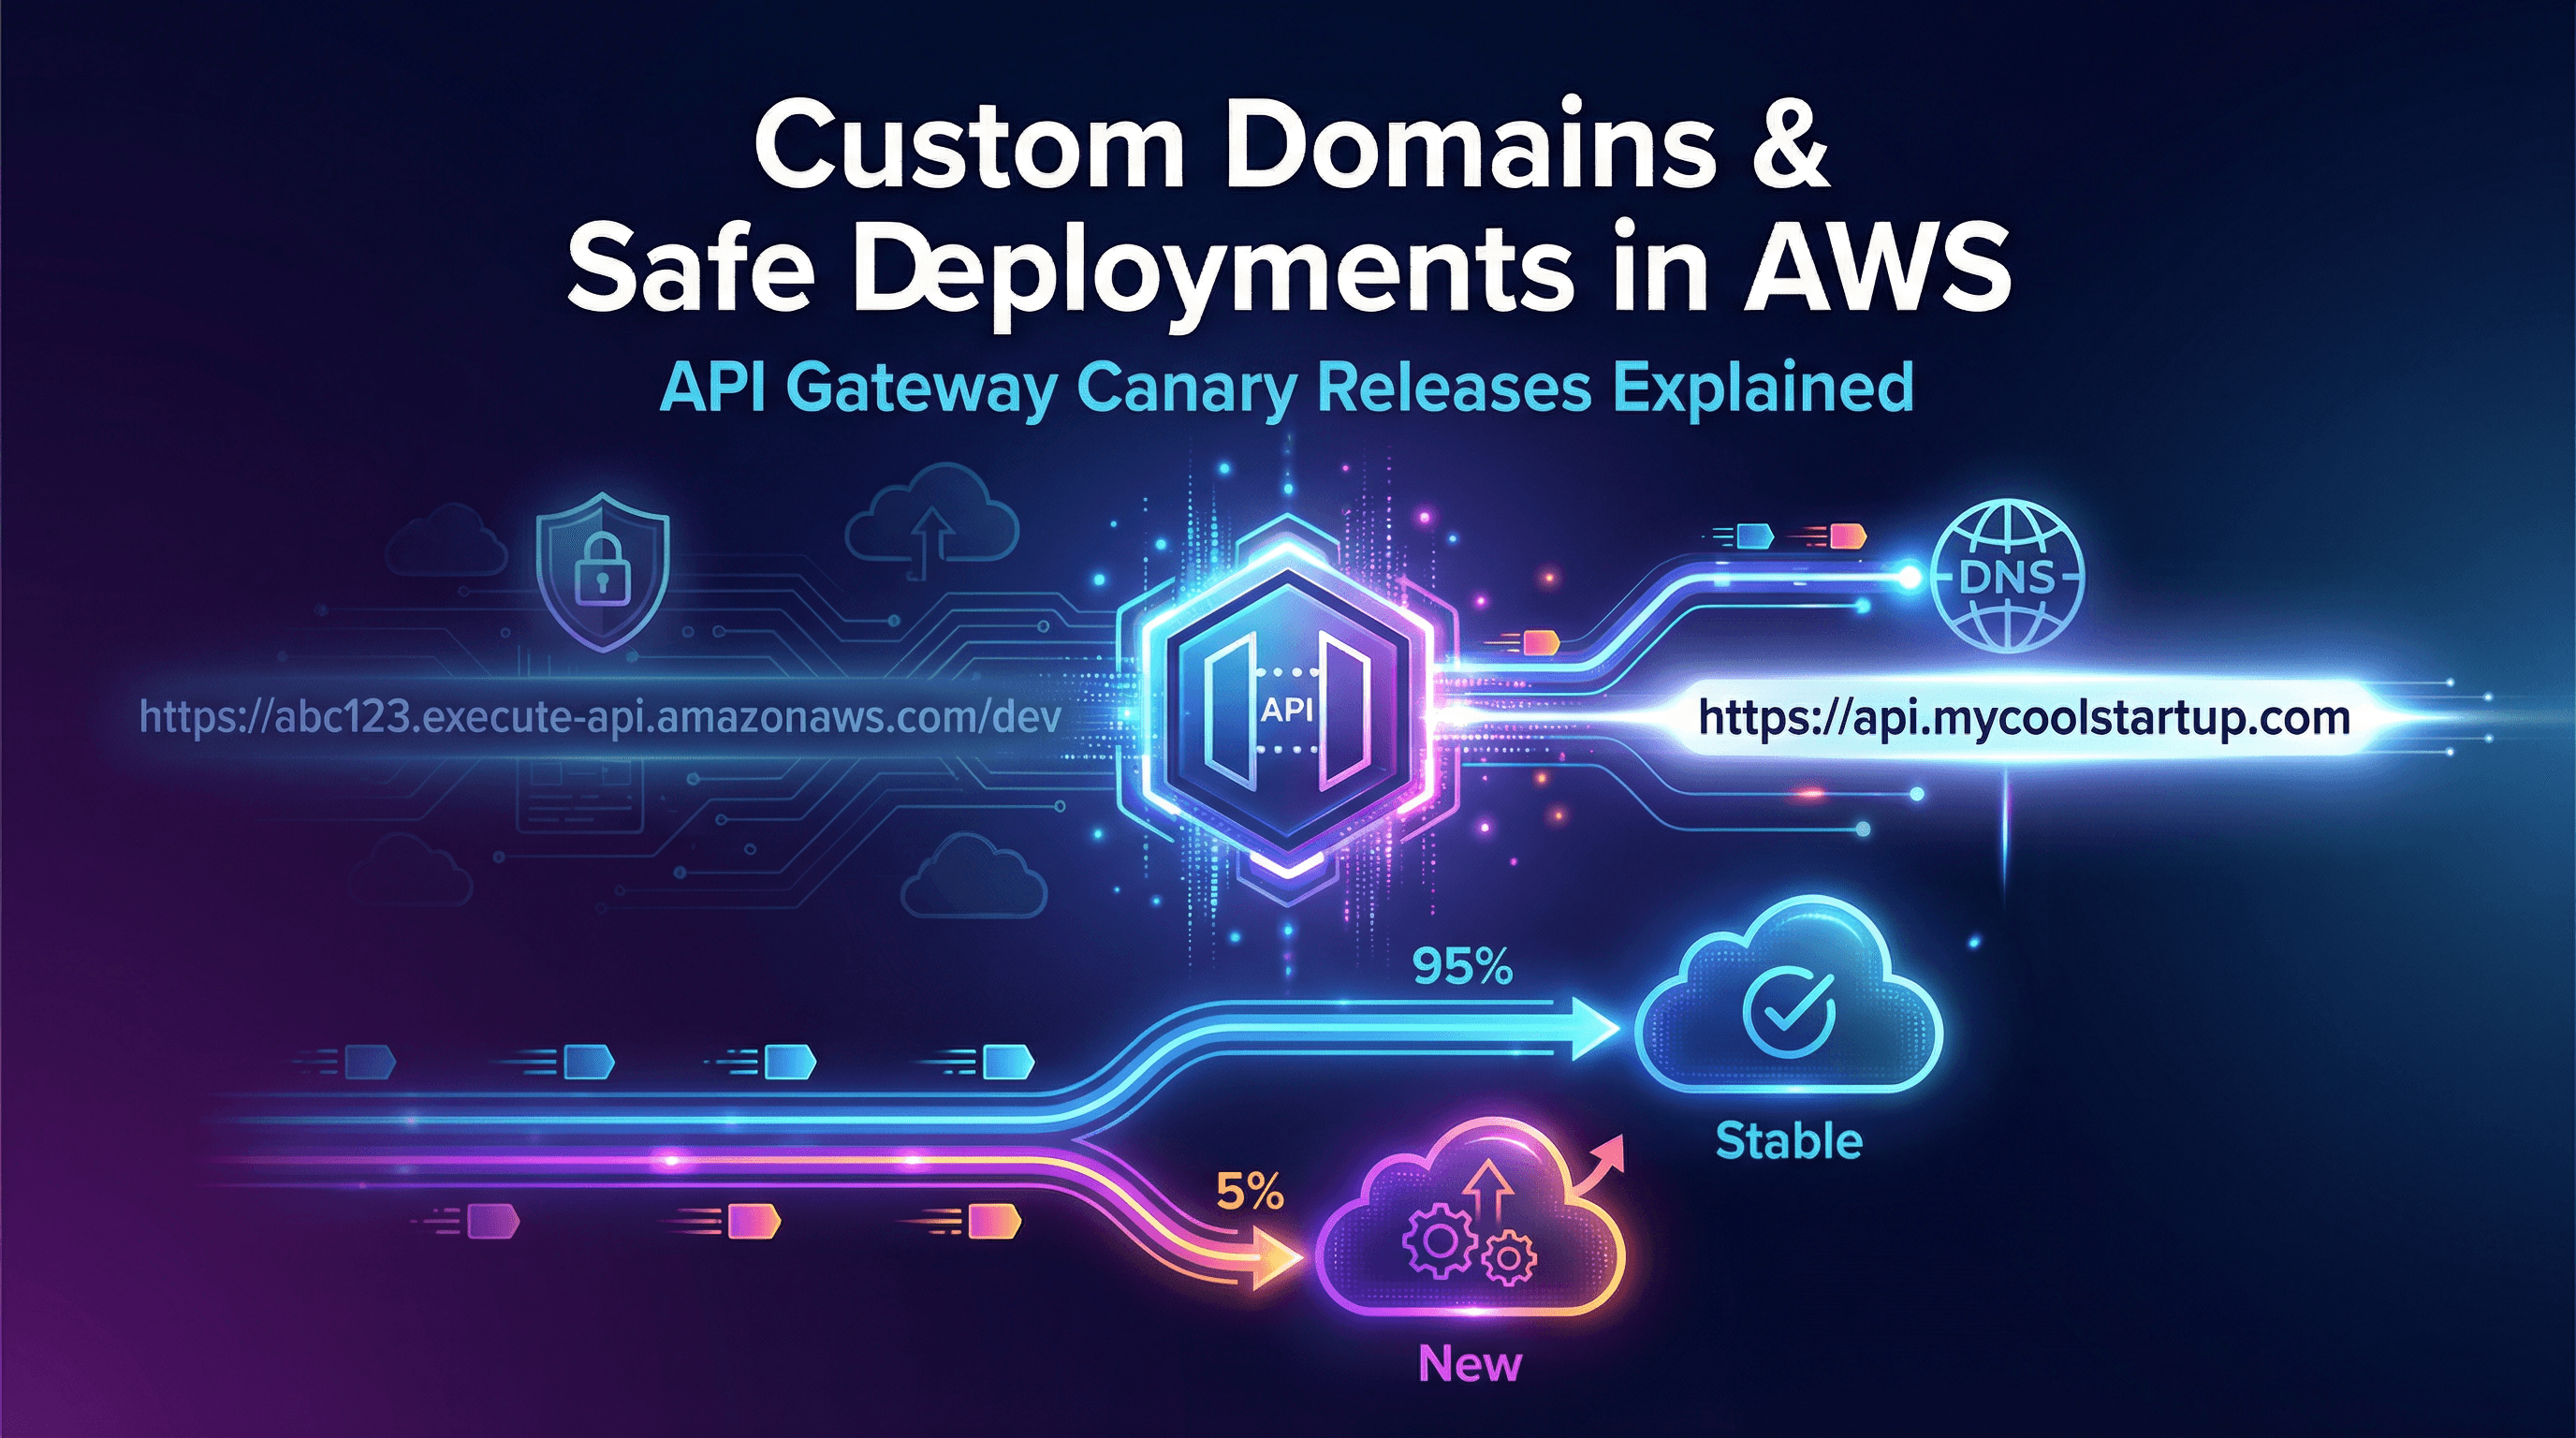
But right now, your API lives at a URL that looks like this:https://a1b2c3d4e5.execute-api.us-east-1.amazonaws.com/dev
No one wants to give that URL to their customers. Plus, what happens when you need to update your API? If you push a bad update, you could instantly break the app for every single user.
In this post, we’re going to look at how to launch your API like a professional. We will cover setting up a beautiful Custom Domain Name, and how to use Canary Deployments to safely roll out updates without risking a massive outage.
The Professional Touch: Custom Domain Names
A custom domain turns that ugly AWS URL into something clean and professional, like:https://api.mycoolstartup.com/v1/users
Setting this up in API Gateway is straightforward, but you need two things before you start :
A Registered Domain Name: You can buy this through Amazon Route 53 or any third-party provider (like GoDaddy or Namecheap) .
An SSL/TLS Certificate: Your API needs to be secure (HTTPS). You must request a free certificate using AWS Certificate Manager (ACM) .
How to Map the Domain
Once you have your certificate, you create a Custom Domain in the API Gateway console . API Gateway will generate a special target domain name. You take that target name, go to your DNS provider (like Route 53), and create a CNAME or Alias record pointing api.mycoolstartup.com to the API Gateway target .
Pro Tip: You can also set up Wildcard Custom Domains . If you want to give every customer their own API endpoint (like customerA.mycoolstartup.com and customerB.mycoolstartup.com), you can use a wildcard certificate (*.mycoolstartup.com) to route them all to the same API Gateway without having to set up hundreds of individual domains .

Stages: Managing Environments
Before we talk about deploying updates, we need to talk about Stages.
When you deploy an API in AWS, you don't just deploy it "to the internet." You deploy it to a specific Stage. A stage is just a named reference to a snapshot of your API.
Most companies use stages to separate their environments:
dev(for developers testing new code)qa(for quality assurance testing)prod(the live version actual customers use)
Instead of building three completely separate APIs, you build one API and deploy it to these three different stages.
Playing it Safe: Canary Deployments
Let's say your prod API is running perfectly, handling 10,000 users a minute. Your team has just built an exciting new feature, and you want to push it live.
If you update the prod stage directly and there is a bug in the code, all 10,000 users instantly crash. This is a disaster.
To solve this, API Gateway offers Canary Deployments (currently only available for REST APIs) .
How a Canary Works
A Canary Deployment allows you to split your traffic . Instead of sending 100% of your users to the new code, you tell API Gateway:
"Keep 95% of users on the old, stable version. Send a random 5% of users to the new, experimental version" .

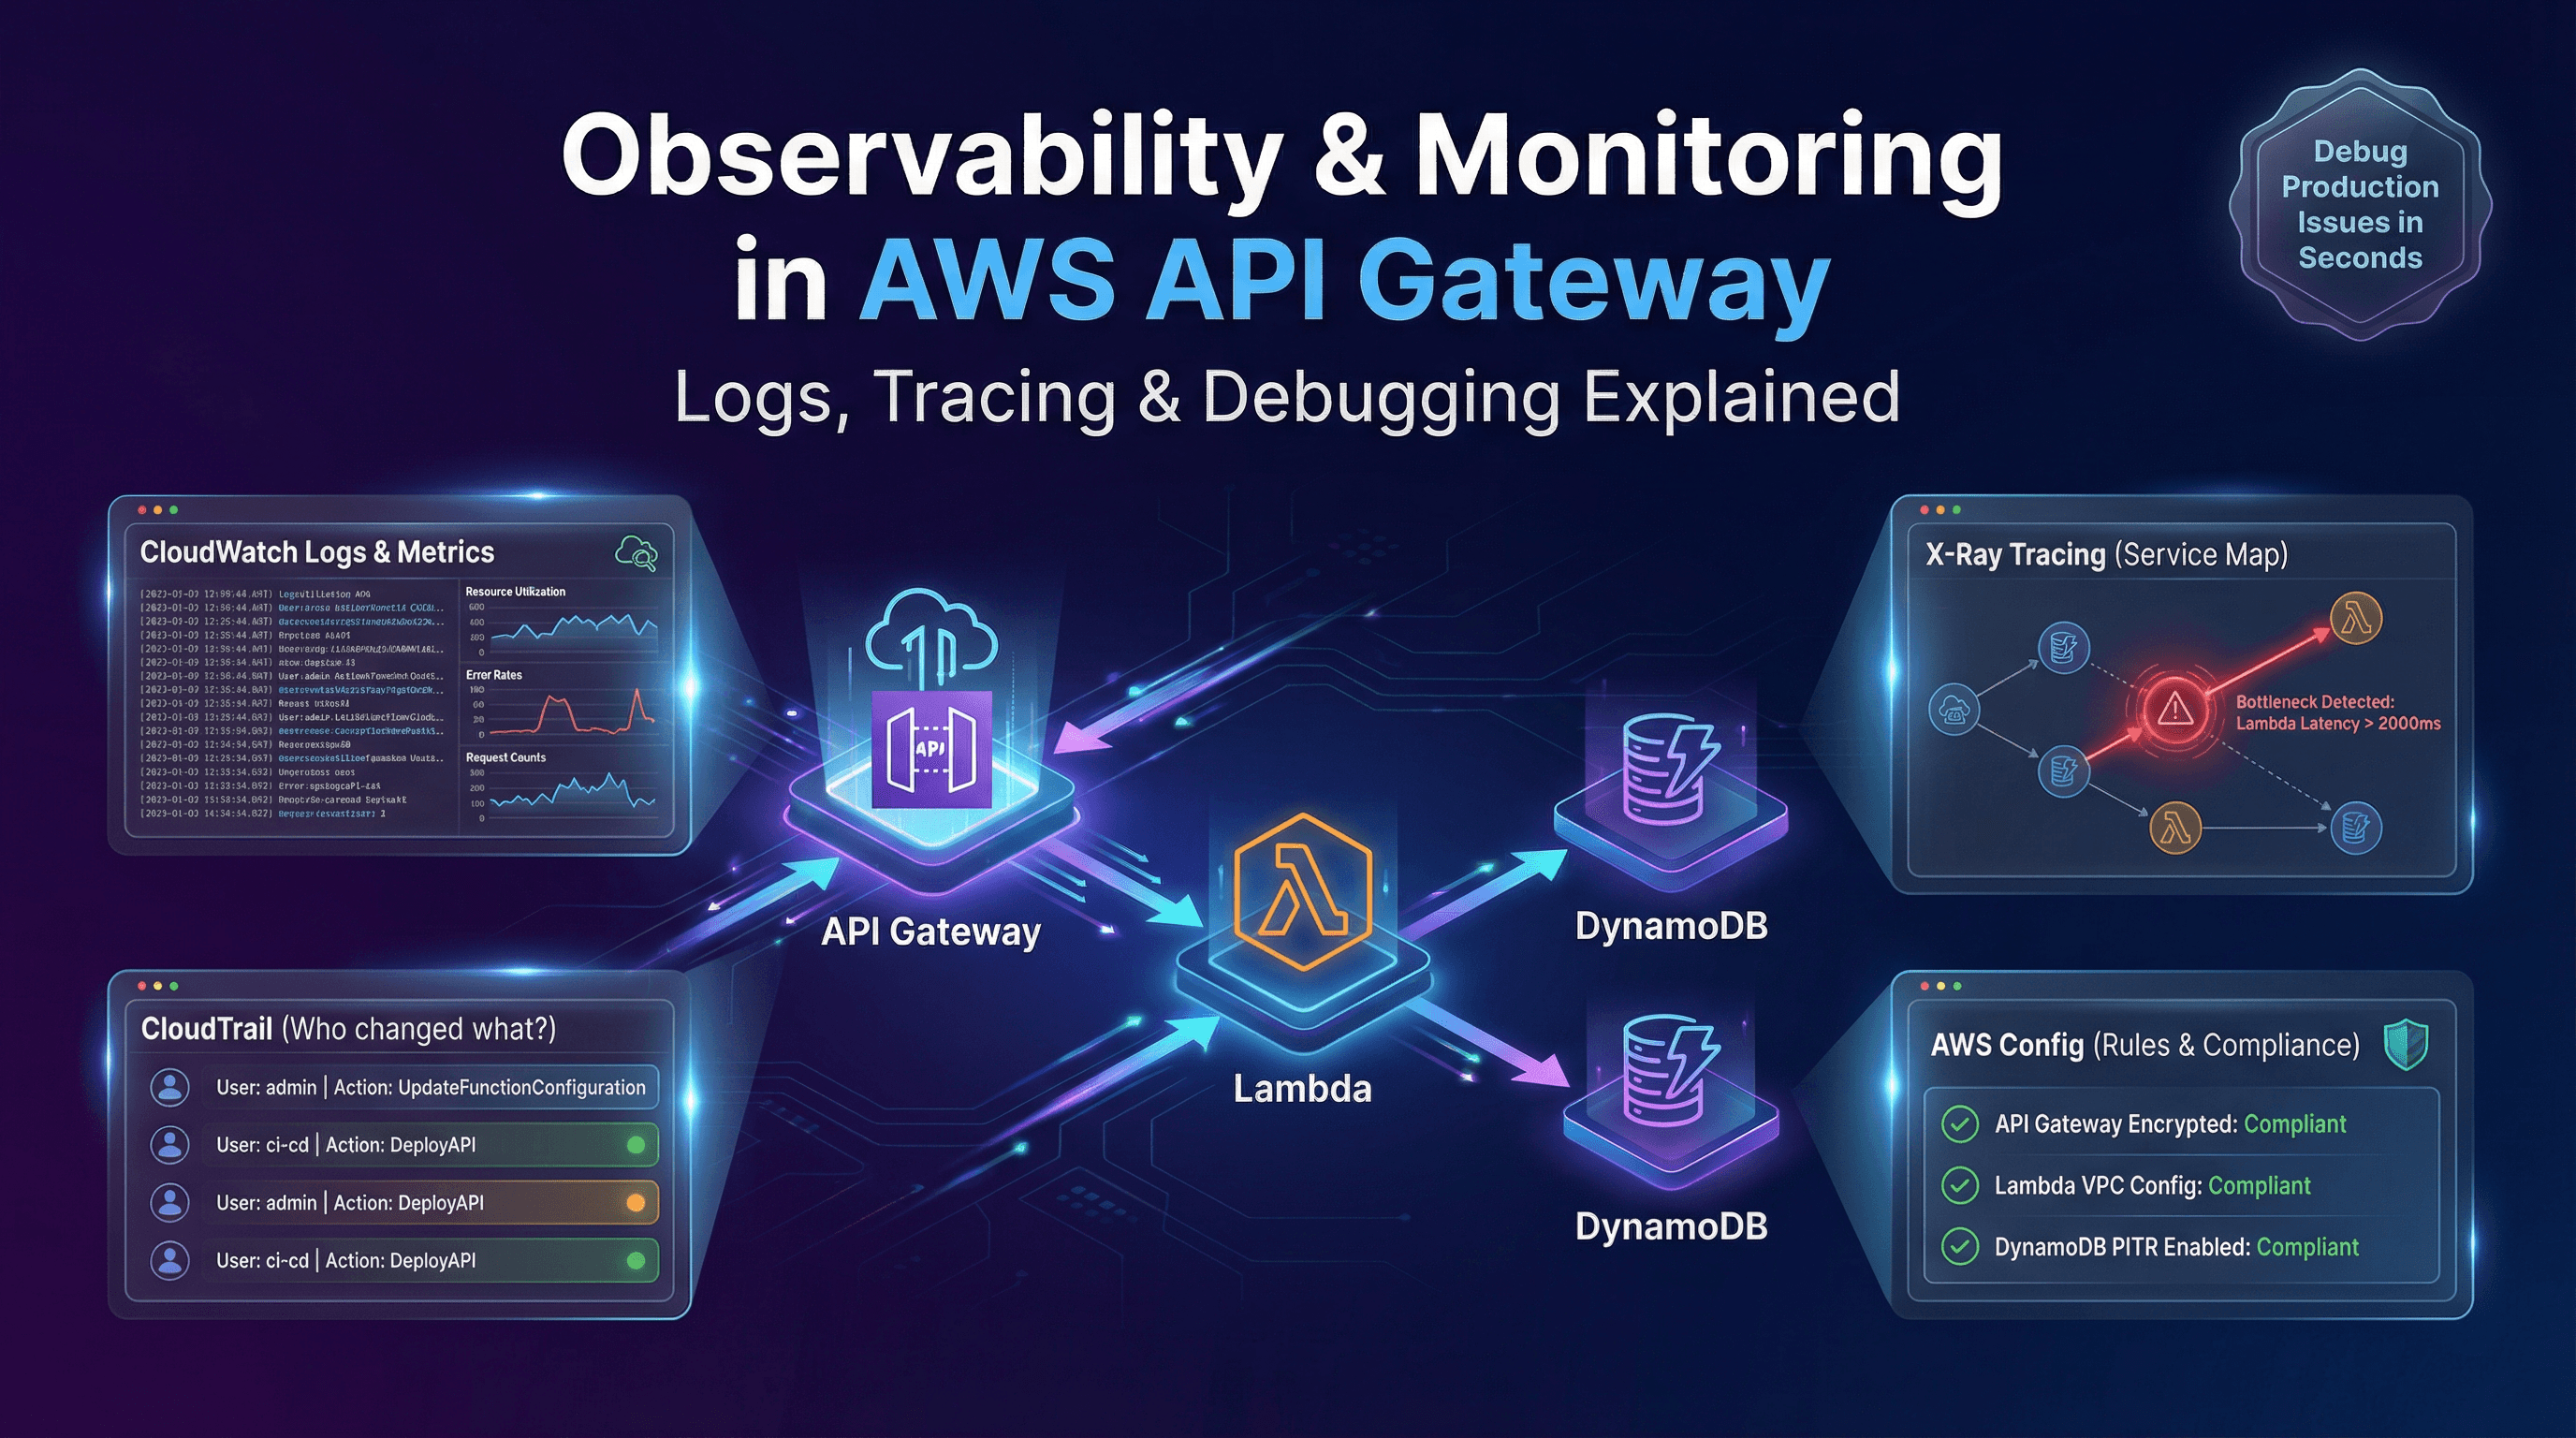
Monitoring the Canary
Because you enabled the Canary, API Gateway automatically separates your logs and metrics . In AWS CloudWatch, you will see two separate folders: one for the 95% of normal traffic, and a special /Canary folder for the 5% testing the new code .
You monitor the Canary logs.
Are the 5% of users getting errors? If yes, you instantly slide the traffic dial back to 0% . The experiment is over, but 95% of your users never noticed a thing.
Are the 5% of users getting fast, successful responses? If yes, you can "Promote" the Canary . API Gateway shifts 100% of the traffic over, and your new code officially becomes the new stable version .
What's Next in the Series?
You now have a beautifully named API that can be safely updated without breaking production. But what happens when things do go wrong? How do you figure out exactly which line of code is slowing down your system?
In our final post, Part 6: Pro-Level Observability, Logging & Best Practices, we will cover how to use CloudWatch, CloudTrail, and X-Ray to track every single request that moves through your API like an X-ray machine.